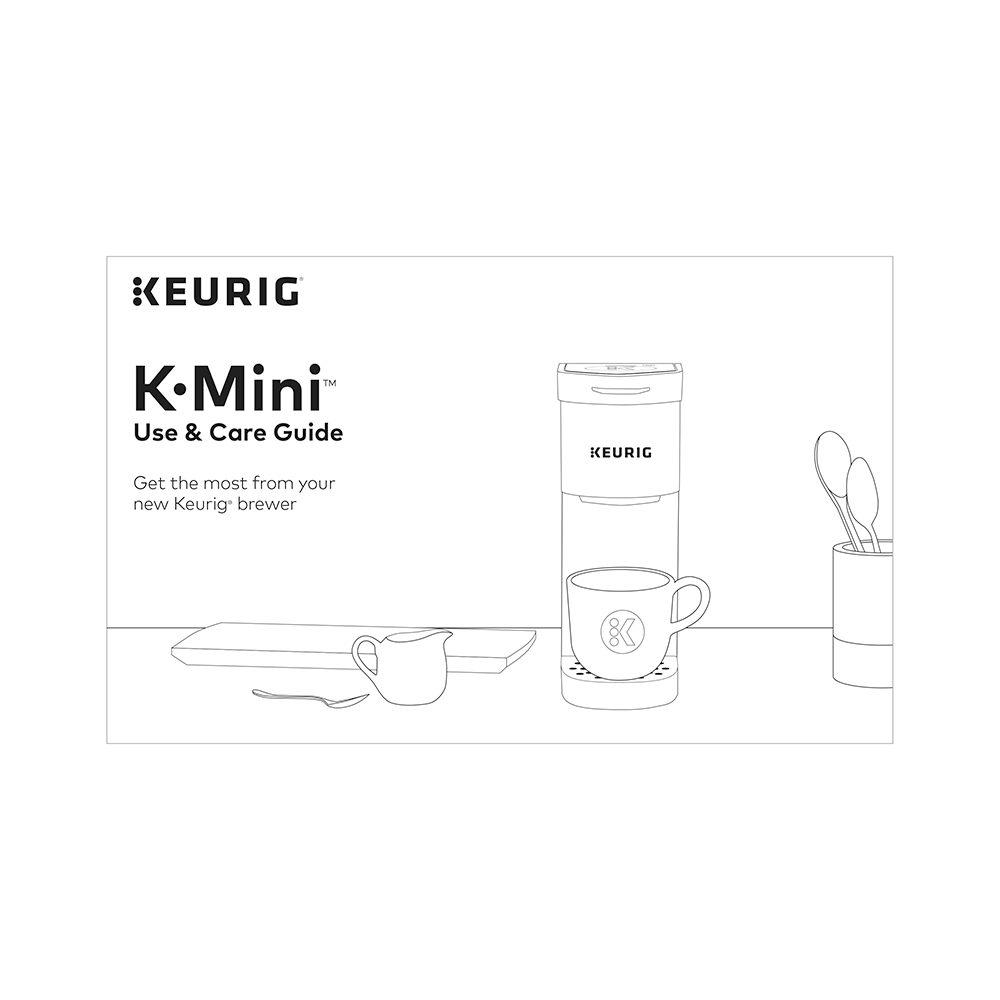
Keurig K-Mini Single Serve Coffee Maker Use and Care Guide
Download PDF user manual for Keurig K-Mini Single Serve Coffee Maker (Brewer) (EN) 6 pages DC0000001485 REV A 2018 zip
Description
This PDF user manual is for the Keurig K-Mini Single Serve Coffee Maker.
About the Item
Keurig K-Mini Single Serve Coffee Maker
The Keurig K-Mini coffee maker is now built with more planet-conscious materials. The K-Mini brewer family has reduced the amount of virgin plastic used by over 1 million pounds since 2020. By committing to reducing the amount of new, or “virgin” plastic in our brewers, Keurig is ensuring there is now less plastic entering the system. That makes the K-Mini brewer Keurig’s most environmentally minded coffee maker. That’s just another reason to love the K-mini brewer, our slimmest brewer yet. At less than 5″ wide, the incredibly slim and easy to use K-Mini single serve coffee maker makes anywhere perfect for great coffee. The Keurig K-Mini brewer combines sleek design with space-saving convenience in a portable, stylish package that delivers fresh brewed, delicious coffee from your favorite K-Cup pods in minutes.
FEATURES:
– OUR ENVIRONMENTALLY MINDED: The K-Mini brewer family has reduced the amount of virgin plastic used by over 1 million pounds since 2020.
– FITS ANYWHERE: Less than 5 inches wide, perfect for small spaces.
– YOUR PERFECT AMOUNT: Brew any cup size between 6-12oz.
– ONE CUP RESERVOIR: Just add fresh water for each brew.
– FAST & FRESH-BREWED: Coffee made in minutes.
– CORD STORAGE: For easy transport and tidy countertops.
– AUTO OFF: Automatically turns your brewer off 90 seconds after the last brew for energy savings.
– TRAVEL MUG FRIENDLY: Remove the drip tray to accomodate a travel mug.
– MATTE FINISH: Sleek simplicity meets modern style – the K-Mini coffee maker is available in a variety of matte-finish colors.
– SPECS: 12.1″ High (16.8″ high with handle open) x 4.5″ Wide x 11.3″ Deep. Weighs 4.6 lbs, 120V
Get the most from your new Keurig brewer.
(PDF) USE AND CARE GUIDE (ENGLISH)
SUMMARY OF CONTENTS
BEFORE YOU BREW
– Plug & Place: Remove packing tape from brewer. Pull plug and extend cord from cord storage located at the back of the brewer. Plug into a grounded outlet. Press the power button. The power button will illuminate.
– Fill & Place: Add 1 cup (8 oz) of water into a mug. Lift the water reservoir lid and pour the water into the reservoir. Do not fill past the MAX or below the MIN fill lines. Lower the lid and place your mug on the drip tray.
– Lift & Lower: Lift and lower the handle. Do not insert a K-Cup pod. The brew indicator light will flash to indicate that the brewer is ready.
– Cleansing Brew: Press the brew button. The brew indicator light will illuminate solid, then begin to pulse while the brewer is heating. After about 2 minutes, the brew indicator light will illuminate solid again and the water will begin to dispense. Pour the hot water into the sink.
The one-time setup process is now complete and you are ready to brew!
BREW YOUR FIRST CUP. How to use the Keurig K-Mini Single Serve Coffee Maker.
– Fill & Place Mug: Add desired amount of water into a mug (6 oz minimum, 12 oz maximum). Lift the water reservoir lid and pour the water into the reservoir. Do not fill past the MAX or below the MIN fill lines. Lower the lid and place your mug on the drip tray.
– Lift & Place Pod: Lift the handle. Place a K-Cup pod in the K-Cup pod holder. Lower the handle completely to close the lid. The brew indicator light will flash to indicate that the brewer is ready.
– Brew & Enjoy! Press the brew button. The brew indicator light will illuminate solid, then begin to pulse while the brewer is heating. After about 2 minutes, the brew indicator light will illuminate solid again and the beverage will begin to dispense. Brewing is complete when the brew indicator light is no longer illuminated. When complete, lift the handle and dispose of the used K-Cup pod.
CARING FOR YOUR BREWER
Regular cleaning keeps your brewer running smoothly. Always be sure to turn off and unplug your brewer before cleaning.
– How to clean Brewer Exterior
– How to clean Water Reservoir
– How to empty and clean Drip Tray
– How to remove and clean K-Cup Pod Holder.
– How to clean the Exit Needle
– How to remove and wash the Funnel
– How to clean the Entrance Needles
DESCALING YOUR BREWER. How to descale your Keurig K-Mini Single Serve Coffee Maker?
You should descale your brewer every 3-6 months. Properly follow the descaling procedure.
Depending on the mineral content of your water, calcium deposits or scale may build up in your brewer faster, making it necessary to descale more often.
– Descaling Procedure (and what you’d need for that):
– STEP 1: Cleansing Rinse. How to activate Descale Mode?
– STEP 2: Internal Tank Soak.
– STEP 3: Fresh Water Rinse. How many times should I repeat this step?
Please allow approximately 45 minutes for the descaling procedure.
TROUBLESHOOTING
Grounds in Your Coffee
Grounds may have gathered in the exit or entrance needles and can be cleaned using a straightened paper clip or similar tool.
– Clean the exit needle of the K-Cup pod holder. Refer to the Exit Needle care instructions.
– Clean the brewer entrance needles. Refer to the Entrance Needles care instructions.
Brewer Will Not Brew
– A minimum of 6 oz of water is required to brew. Add an additional 2 oz of water to the reservoir to ensure the minimum fill level has been met, then press the brew button. Repeat until the brewer begins to dispense.
Brewing a Partial Cup
– Press the power button. Press and hold the brew button for 5 seconds until all of the water has been dispensed. Discard the contents into the sink. Press the power button to restart.
– The exit needle may be clogged. Refer to the Exit Needle care instructions.
– Clean the K-Cup Pod Holder, see K-Cup Pod Holder care instructions.
– The brewer may need to be descaled. If you have repeated the descale procedure on your brewer two times and it is still only brewing a partial cup, contact Customer Service.
Brewer Does Not Have Power or Shuts Off
– Make sure that the power button has been turned on.
– Plug brewer into its own grounded outlet. If the electric circuit is overloaded with other appliances, your brewer may not function properly. The brewer should be operated on its own circuit, separate from other appliances.
– For energy savings, the brewer automatically turns off 90 seconds after the last brew. Press the power button to restart.
– If the brewer still doesn’t have power, contact Customer Service.
HELPFUL HINTS. What kind of water is recommended for brewing coffee? Is destilled water can be used for brewing coffee?
Water quality varies greatly. If you notice an undesirable taste in your beverage (such as chlorine or mineral tastes), we recommend using bottled or filtered water. Do not use distilled water.
SERVICE
Beyond these recommended cleaning and maintenance procedures, this brewer is not user serviceable. For service, please refer to the Warranty section of this guide.
STORAGE
Empty the water reservoir before storing or transporting and take care to ensure that you store your brewer in a safe and frost-free environment. When you prepare to use it after storage, we recommend rinsing the water reservoir with fresh water and descaling the brewer as detailed in the Descaling your Brewer section.
If you plan to move your brewer to a different location, turn the brewer off, unplug it, and empty the water reservoir.
If your brewer has been in an environment below freezing, please be sure to let it warm to room temperature for at least 2 hours before using.
WARRANTY. What is not covered by the limited warranty? Other limitations. How do you obtain warranty service?
KEURIG K-MINI EXPLODED VIEW DRAWING AND PARTS LIST
Why download the Manual?
This use and care guide provides all the information from Keurig about the K-Mini coffee maker, as detailed in the table of contents. Reading it completely will address most questions you might have. You can download and save it for offline use, including viewing it on your device or printing it for your convenience if you prefer a paper version.
How to download the Manual?
Download it by clicking the button below
Helped you out?
Glad to hear that. It would be awesome if you could . . .


